Introduction
Having the right mouse pointer size can significantly enhance your digital experience by increasing accessibility and reducing eye strain. Whether you’re navigating on a large 4K monitor or working with vision challenges, an appropriately sized pointer can make a world of difference. Adjusting your mouse pointer size is a simple yet vital modification that tailors your system to fit your unique needs. This guide will explore how to adjust mouse pointer size on both Windows and macOS platforms, delve into third-party software for further customization, and offer helpful tips to enhance your user experience.
Transitioning from understanding the importance of pointer adjustments, we’ll now delve into the specifics, beginning with Windows. Both Windows 10 and Windows 11 provide straightforward methods to modify pointer size, ensuring you achieve the desired visibility and control over your cursor.
Why Adjusting Mouse Pointer Size Matters
Adjusting mouse pointer size isn’t merely a preference; it’s a necessity for many users seeking an accessible digital environment. A larger pointer size can significantly help those with visual impairments identify the cursor more easily. Furthermore, when working on high-resolution screens, a larger pointer prevents it from becoming lost or overlooked. Creating a setup that incorporates a visible and easily manageable pointer is crucial, and it’s a straightforward adjustment that anyone can implement to optimize their daily computing tasks.
By ensuring your pointer is clearly visible, you enhance both productivity and comfort. Next, we’ll guide you through the steps required to adjust your mouse pointer size on Windows systems.
Adjusting Mouse Pointer Size on Windows
Windows provides a user-friendly way to customize mouse pointer size, catering to both Windows 10 and Windows 11 users. Below is a step-by-step guide to making these adjustments:
Step-by-Step Guide for Windows 10
- Open the ‘Settings’ app by pressing ‘Windows + I.
- Click on ‘Ease of Access.
- In the menu on the left, select ‘Mouse.
- Under ‘Mouse pointer,’ use the slider to adjust the size of the pointer.
- Additionally, you can change the pointer color to promote better visibility.
Step-by-Step Guide for Windows 11
- Open ‘Settings’ by selecting it from the Start menu.
- Navigate to ‘Accessibility’ from the sidebar.
- Choose ‘Mouse pointer and touch.
- Adjust the size using the available slider.
- As in Windows 10, the pointer’s color can be customized for improved contrast.
Additional Windows Accessibility Tips
- Use ‘Magnifier’ to zoom in on screen areas for better pointer visibility.
- Explore ‘Color Filters’ to adjust contrast, aiding those with color vision deficiencies.
- ‘Narrator’ can assist by verbally describing pointer location.
With Windows covered, let’s transition seamlessly into how macOS users can also benefit from altering their pointer settings.
Changing Mouse Pointer Size on macOS
macOS provides straightforward solutions for adjusting the mouse pointer, ensuring your workspace is tailored to your eye comfort and accessibility requirements.
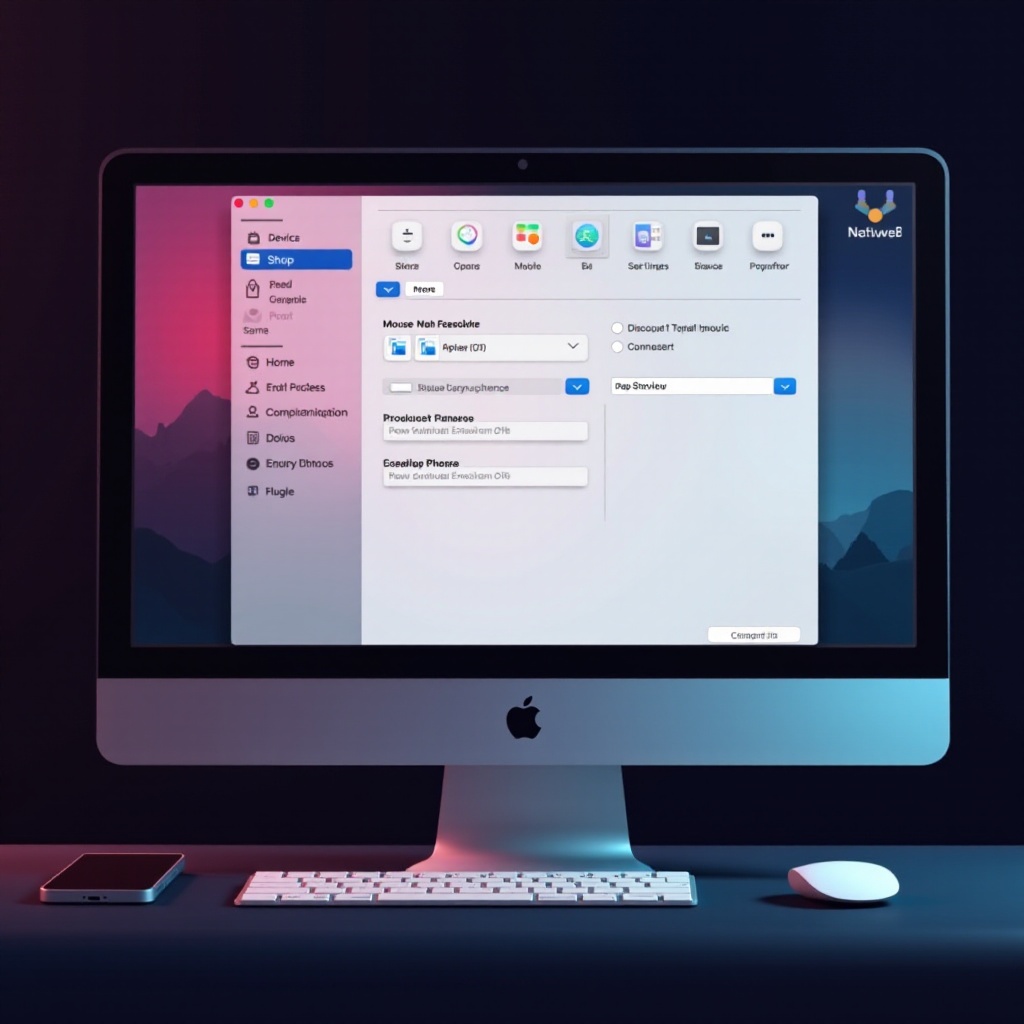
Navigating macOS System Preferences
- Launch ‘System Preferences’ from the Apple menu.
- Click on ‘Accessibility.
- Select ‘Display’ from the left sidebar.
- Use the slider under ‘Cursor size’ to adjust the pointer size as needed.
Accessibility Features for macOS
- Enable ‘VoiceOver’ for spoken descriptions of on-screen elements, including pointer location.
- Use the ‘Zoom’ feature to focus on specific parts of the display.
- ‘Color Filters’ provide alternatives for enhanced pointer visibility.
Troubleshooting Common macOS Issues
- Ensure that macOS is up to date to avoid bugs affecting cursor adjustments.
- If pointer adjustments aren’t saving, check user permissions and System Integrity Protection (SIP) settings.
- Restart the device if pointer behavior seems inconsistent after changes.
With both Windows and macOS standard customization methods in hand, we now extend our toolbox by exploring third-party tools for those seeking even greater control.
Using Third-Party Tools for Enhanced Customization
While native options suffice for many users, third-party software offers advanced features for those seeking deeper customization.
Overview of Popular Software
Programs like ‘CursorFX’ and ‘Stardock’s Object Desktop’ provide extensive customization options, allowing users to alter pointer aesthetics and behavior extensively.
Benefits and Limitations of Third-Party Tools
- Benefits: More control over animation, size, and design of pointers. Greater suite of accessible features beyond native capabilities.
- Limitations: May require purchase or subscriptions, and can introduce compatibility risks with other software or impede system performance.
Steps to Install and Customize
- Download and install your chosen software from a reputable vendor.
- Follow prompts for basic setup and installation.
- Access ‘Settings’ within the software to adjust pointer size, design, and effects according to your preferences.
In addition to these tools, fine-tuning pointer settings can further amplify user experience and ease of navigation.
Additional Tips for Mouse Pointer Customizations
Beyond simply resizing, there are numerous tweaks to optimize pointer function and visibility.
Adjusting Pointer Speed and Visibility
- Modify the pointer speed settings to match your comfort level for precise control.
- Enable features like pointer shadow to improve contrast against different backgrounds.
Exploring Pointer Trails and Effects
- Activate pointer trails to follow cursor movement, enhancing visibility during navigation.
- Use custom pointer effects through third-party tools to personalize your visual experience.
Integrating with Multi-Device Setups
- Ensure that pointer size and settings sync across devices by leveraging cloud settings where supported.
- Use universal solutions and software that are compatible with various operating systems for a seamless experience.
Conclusion
An appropriately sized mouse pointer can profoundly improve both efficiency and comfort in your digital interactions. By following these steps and utilizing available tools, you tailor your computer environments to suit your accessibility needs and personal preference. By thoughtfully applying these adjustments, navigating any digital space becomes more intuitive and enjoyable.
This comprehensive approach to adjusting mouse pointer size extends usability across different devices and platforms, making digital interaction more inclusive and comfortable.
Frequently Asked Questions
How do I reset my mouse pointer size to default?
To reset your mouse pointer size to the default settings, navigate to the customization options mentioned, and select the ‘default’ or ‘reset’ option available in size settings.
Can I change the color of my mouse pointer?
Yes, both Windows and macOS offer settings within Accessibility or Ease of Access options, allowing users to change their pointer color for enhanced visibility.
What if my operating system update changes the pointer settings?
Sometimes updates can override personal settings. Revisit the pointer settings in the system preferences or accessibility settings to restore your desired configuration.